Most users should follow the simpler Installation documentation to create an Endless OS USB Stick.
The instructions below are designed for special circumstances sometimes encountered by partner organizations of Endless Access, e.g. using custom images.
¶ Using Endless OS
Important! We recommend you review the introduction before getting started.
¶ Requirements
You will need:
-
A blank USB Stick with enough capacity to store your image. For faster speeds, use a USB3 device connected to a USB 3 port, which can be recognized by having blue connectors or a SS (SuperSpeed) label.
-
A computer running Endless OS (or Debian or Fedora, for more advanced users)
-
The Endless OS image and its signature file. If you don't have your custom image available, please contact our support channels to get a download link.
Two files are required, a larger file with extension:
.img.gzand a smaller file with extension.img.gz.asc. -
The Endless Mass Installer and its signature file. If you don't have these files, please see Endless OS direct download or contact our support channels to get a download link.
Two files are required, a larger file whose name begins with
eosinstaller-and ends with.img.xz, and a smaller file with a similar name ending.img.xz.asc.
¶ Procedure
-
Place the above mentioned files in a single folder.
-
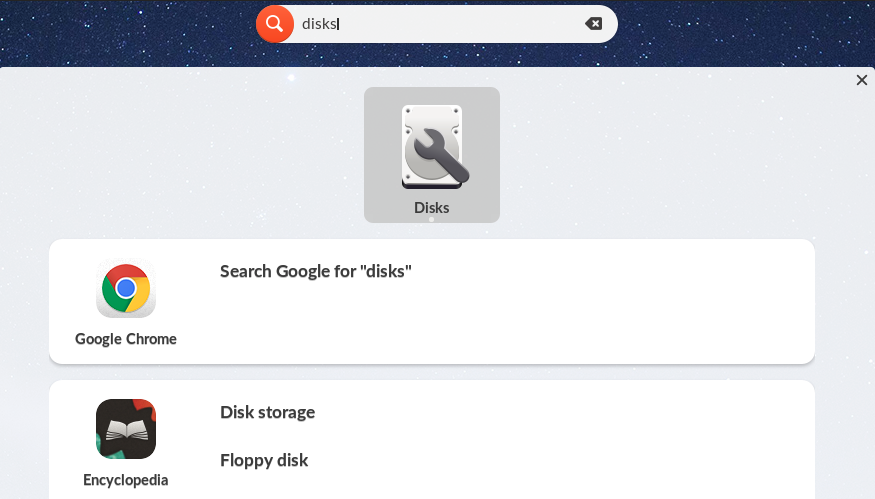
Open the Disks app by typing the word "disks" in the search bar.

-
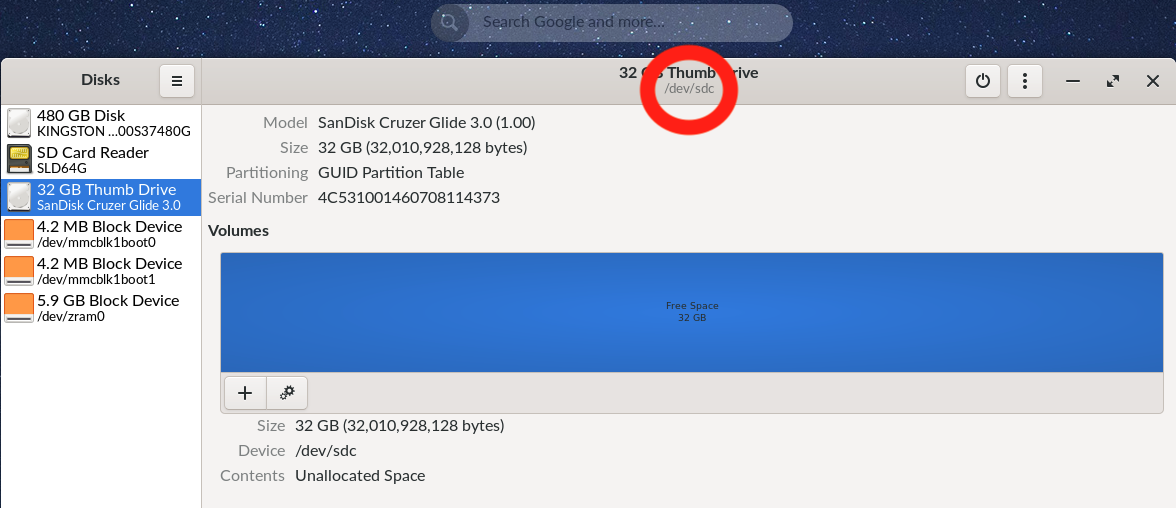
Once Disks is open, you will see the list of all the storage devices connected to your PC.
-
Insert your USB device, you will see it being added to the list of storage devices.
-
Locate the Device path (highlighted in a red circle in the picture below, eg: /dev/sdc). You will need this information for the next steps.

If you are not using a brand new USB, make sure your device does not have extra partitions. If your USB has any extra partitions, you may use the same Disks app to delete all of them
-
Close the Disks app and open a Terminal window by typing "terminal" in the search bar.
-
Navigate to the folder where you store the required files.
-
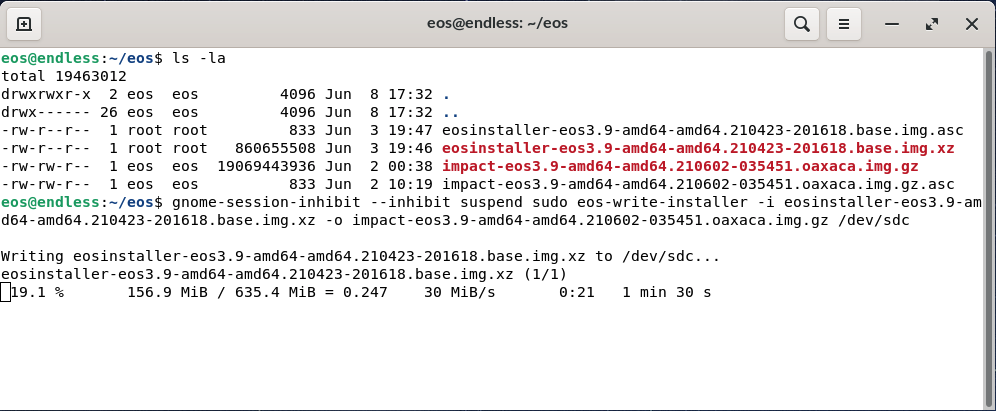
Run the following command to start the process. Take a look at the guide below on what to write between the brackets. You need to insert 3 pieces of information:
gnome-session-inhibit --inhibit suspend sudo eos-write-installer -i [eosinstaller] -o [Endless OS image] [device]-
[eosinstaller]: This is the file name of the installer. It starts with "eosinstaller..." ending with extension .img.xz
-
[Endless OS image]: This is the file name of the Endless image you want to use, it ends with extension .img.gz
-
[device]: This is the device that belongs to your USB, e.g.
/dev/sda,/dev/sdb. Refer to Step 5 for how to determine the device name on your system.
Example:
gnome-session-inhibit --inhibit suspend sudo eos-write-installer -i eosinstaller-eos3.9-amd64-amd64.210522-223424.base.img.xz -o impact-eos3.9-amd64-amd64.210602-035451.oaxaca.img.gz /dev/sdbMake sure you type the file names correctly to avoid errors. File names above are examples; the files you will use will be different. There are several ways to do facilitate writing the file names, it can be by drag and dropping the files into the terminal, or autocompleting the file name using the Tab key. You may want to test a procedure first.
-
-
The system will automatically start creating the USB Reformatter. This process could take up to an hour. You will be able to see the progress made by the installer until it is done.

-
When you are done, you will see the progress bar at 100% and a message that the device has been unmounted. Now you can unplug your USB device and use it to install Endless OS in a computer.
¶ Advanced alternative procedure: using another Linux-based OS
While not as well-tested or -documented, it is possible for advanced users to create a Reformatter USB using another Linux-based OS. In brief:
-
Clone github.com/endlessm/eos-meta, e.g. to
~/eos-meta -
Ensure the required files are all in the current directory, or navigate to the directory with
ls -
Modify the
gnome-session-inhibitcommand above to point to theeos-meta/eos-tech-support/eos-write-installerscript, e.g.:gnome-session-inhibit --inhibit suspend sudo ~/eos-meta/eos-tech-support/eos-write-installer -i [eosinstaller] -o [Endless OS image] [device]
This has been performed successfully at least on Debian and Fedora Silverblue.