These instructions are for using balenaEtcher on Windows, macOS, or some Linux-based OSes. If you're unable to use balenaEtcher, see Flash an Endless OS Image.
balenaEtcher can be used to flash Endless OS images. One advantage of this option is that it is supported on macOS, Windows, and some Linux-based OSes. For more options including where to download Endless OS images, see Flash an Endless OS Image.
Please note that running Endless OS and Endless Key on Apple/Mac hardware is not currently supported. If you are using this procedure on macOS, it is usually because you are creating media to be run on a different type of computer.
The instructions below detail the procedure for flashing an Endless OS ISO to USB, but you should adapt these instructions according to your installation context (e.g. you may be using a SD card instead of USB, you may be using a different type of image file).
¶ Flash with balenaEtcher
-
Download and install balenaEtcher
-
Insert your USB device; for best results, use the fastest USB 3 drive you can find and ensure you’re inserting it into a USB 3 port, e.g. a blue-colored port or one with an “SS” or “SuperSpeed” logo
-
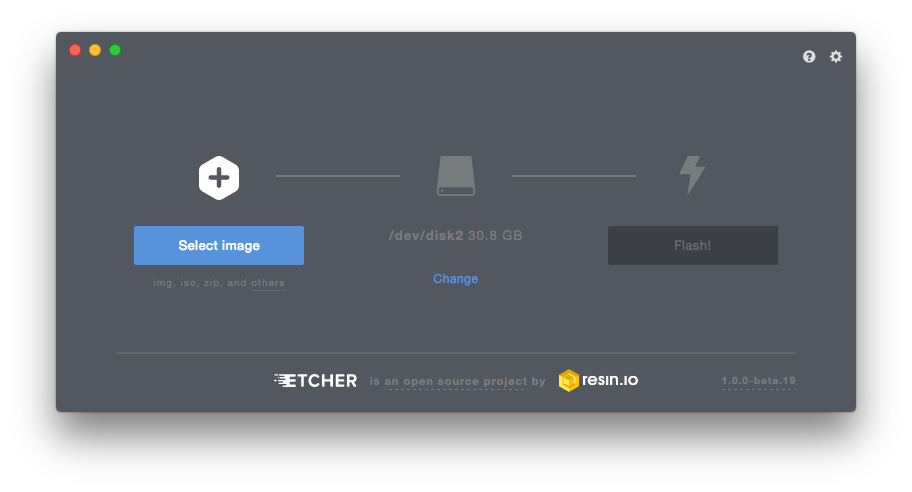
Open Etcher
-
Click Select image, and select the Endless OS ISO or image file
-
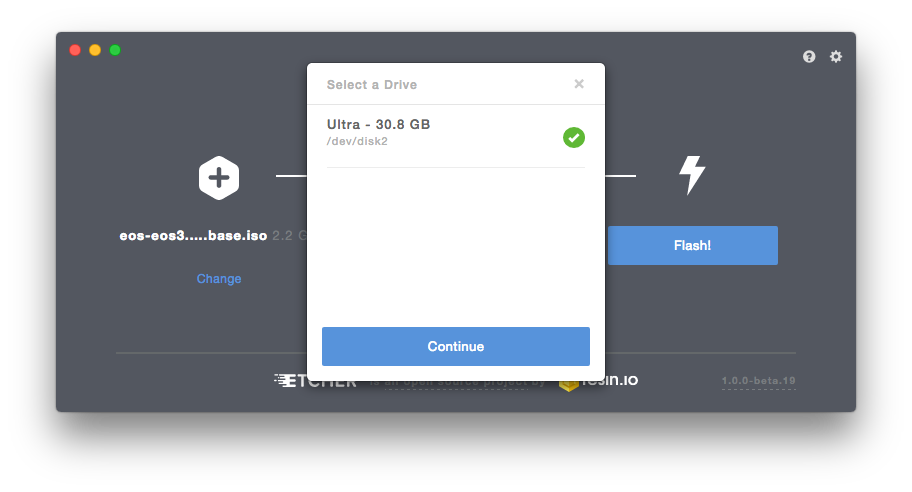
Ensure that the correct USB stick is selected. If not, click Change and select the correct USB stick
-
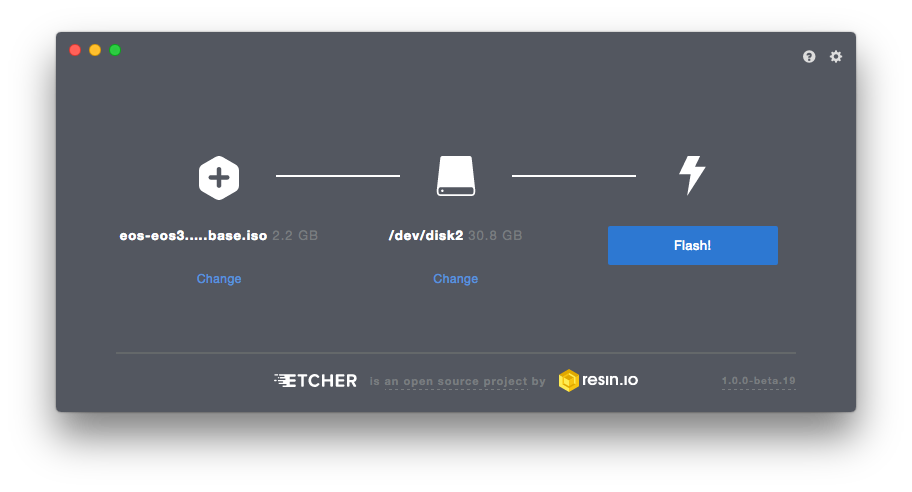
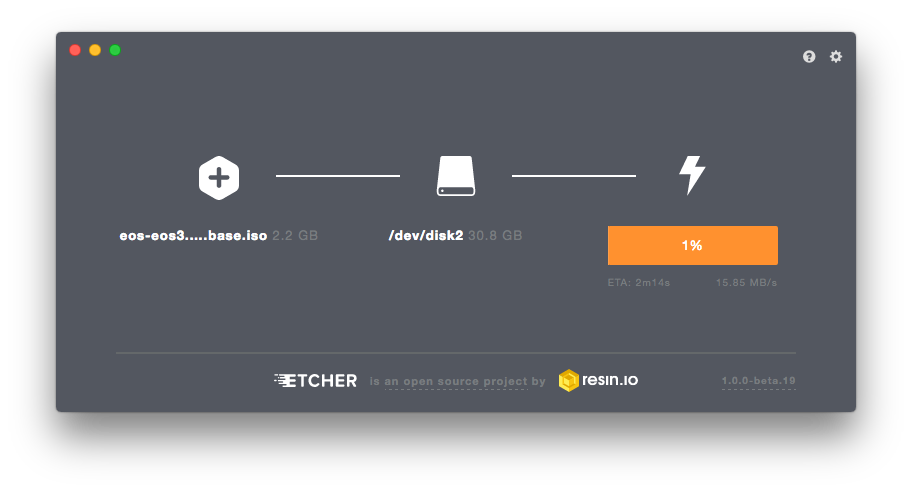
Click Flash!
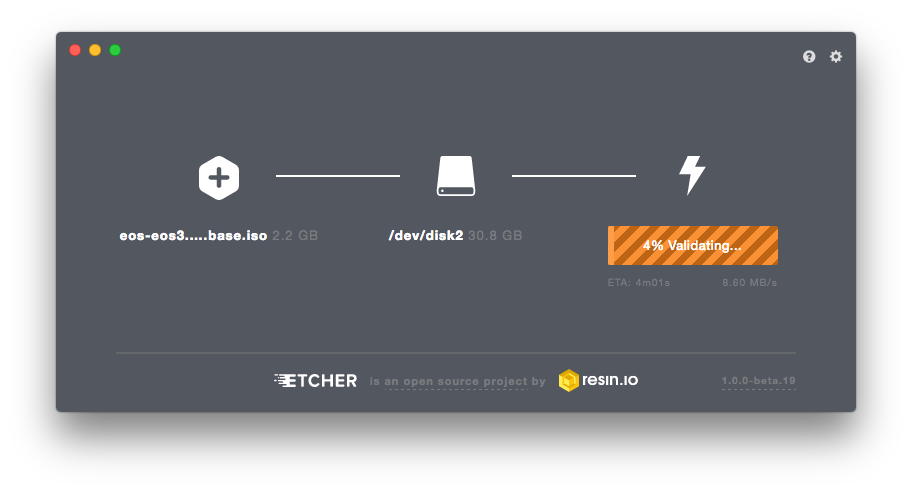
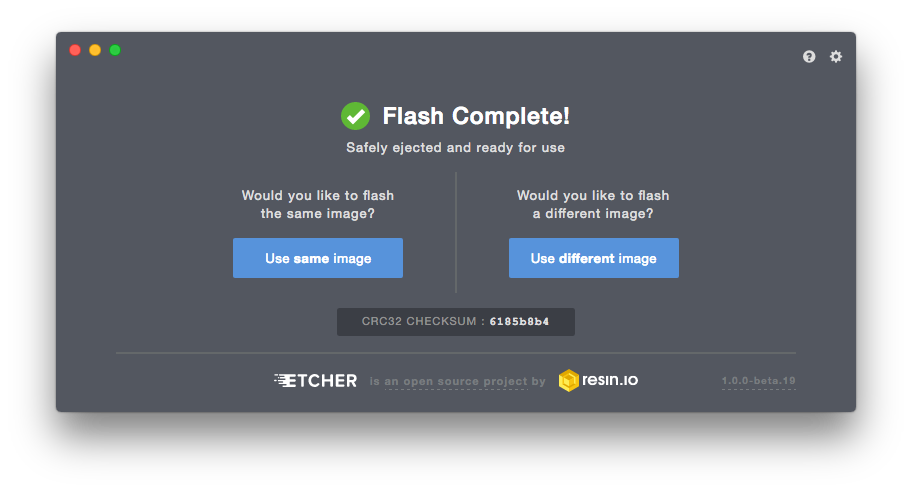
-
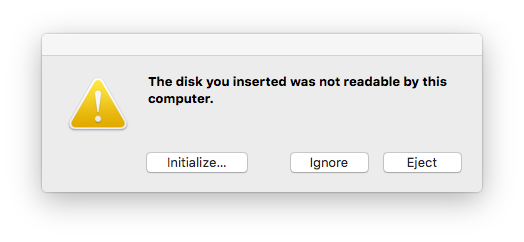
On macOS, you may see the following when flashing is complete; just click Ignore
¶ Next Steps
Next, you’ll boot your computer from your new Endless OS USB drive.